0x0 前言
前几天在折腾主机时候,不小心把环境搞乱了,无奈最后联系腾讯云工程师挽救,虽然最终能进入SSH备份数据,但 sudo 无法使用,无奈重装系统。这次事件发生后觉得有必要做个自动化备份。摆在以前的 WordPress 平台可以实现各种插件备份方法。
对于 Ghost 平台备份也不算复杂,直接备份数据库和平台数据就行了,至于实现就可以使用 shell 脚本实现。
0x1 数据库备份
新建 mysql 备份用户,用于只备份于 Ghost 数据,严格控制对应的权限:
mysql -uroot -p
CREATE USER 'backup'@'localhost' IDENTIFIED BY '你的密码';
GRANT ALL ON iiong.* TO 'backup'@'localhost';
FLUSH PRIVILEGES;
quit;
注意
iiong是你 Ghost 指定的数据,不清楚可以查看Ghost/config.production.json文件
扩展:
SHOW GRANTS FOR 'backup'@'localhost'; # 查看权限列表
REVOKE ALL ON *.* FROM 'backup'@'localhost'; # 删除所有权限操作
创建 .my.cnf 文件
echo '[client]
user=backup
password="你的密码"' >> ~/.my.cnf
赋值权限:
sudo chmod 600 ~/.my.cnf
执行下面命令是否正常备份sql文件:
mysqldump iiong > ~/iiong.sql
因为数据库版本问题如果导出控制台报 “mysqldump: Error: 'Access denied; you need (at least one of) the PROCESS privilege(s) for this operation' when trying to dump tablespaces” 错误直接添加参数:
mysqldump iiong > ~/iiong.sql --no-tablespaces
如果没有异常说明可以继续下一步。
0x3 编写脚本
为了方便将上面备份的 sql 文件进行压缩和日期:
mysqldump iiong | gzip > ~/iiong-$(date +%Y%m%d).sql.gz
然后再备份 Ghost 目录下的 content 文件夹,这个文件夹下包含博客的图片和一些关键配置文件,也包括类似数据库文件:
tar -zcvf ~/content-$(date +%Y%m%d).tar.gz /var/www/ghost/content/
整合脚本 backup.sh,在用户根目录下新建脚本:
cd ~
mkdir backup backup/ghost
cd backup
#!/bin/bash
. ~/.bashrc

alipanBackupPath="/Ghost/"

now=$(date +'%Y-%m-%d_%H-%M')
database="$HOME/backup/ghost/iiong-$now.sql.gz"
ghostdata="$HOME/backup/ghost/content-$now.tar.gz"

echo "保存数据库文件到备份文件夹"
mysqldump iiong --no-tablespaces | gzip > $database

echo "备份 Ghost 数据"
tar -zcvf $ghostdata --absolute-names /var/www/iiong.com/content/ > /dev/null

echo "备份Ghost和数据库文件到阿里云盘"
aliyunpan upload $ghostdata $database $alipanBackupPath
如果提示上传超时,查看
content-xxx.tar.gz容量很大,需要修改-t参数,单位为秒。
保存成功后设置脚本权限:
sudo chmod a+x ./backup.sh
根据下列文档安装阿里云盘工具命令:aliyunpan
请到阿里云盘网页版登录后任意界面浏览器调出开发者工具(F12 或者 command+option+i)在 Application 窗口下的 Local Storage 菜单中右边窗口里面的 token 对象中的 refresh_token 复制它的值就行了,具体截图可以参考:更新 token 说明,然后写入环境:
aliyunpan login
0x4 添加任务
crontab -e

# 在任务表添加下列任务
0 0 * * * /usr/bin/bash /home/ubuntu/backup/backup.sh # 每天 0 点执行

*/5 * * * * /usr/bin/bash /home/ubuntu/backup/backup.sh # 每5分钟执行一次 可以拿这个测试
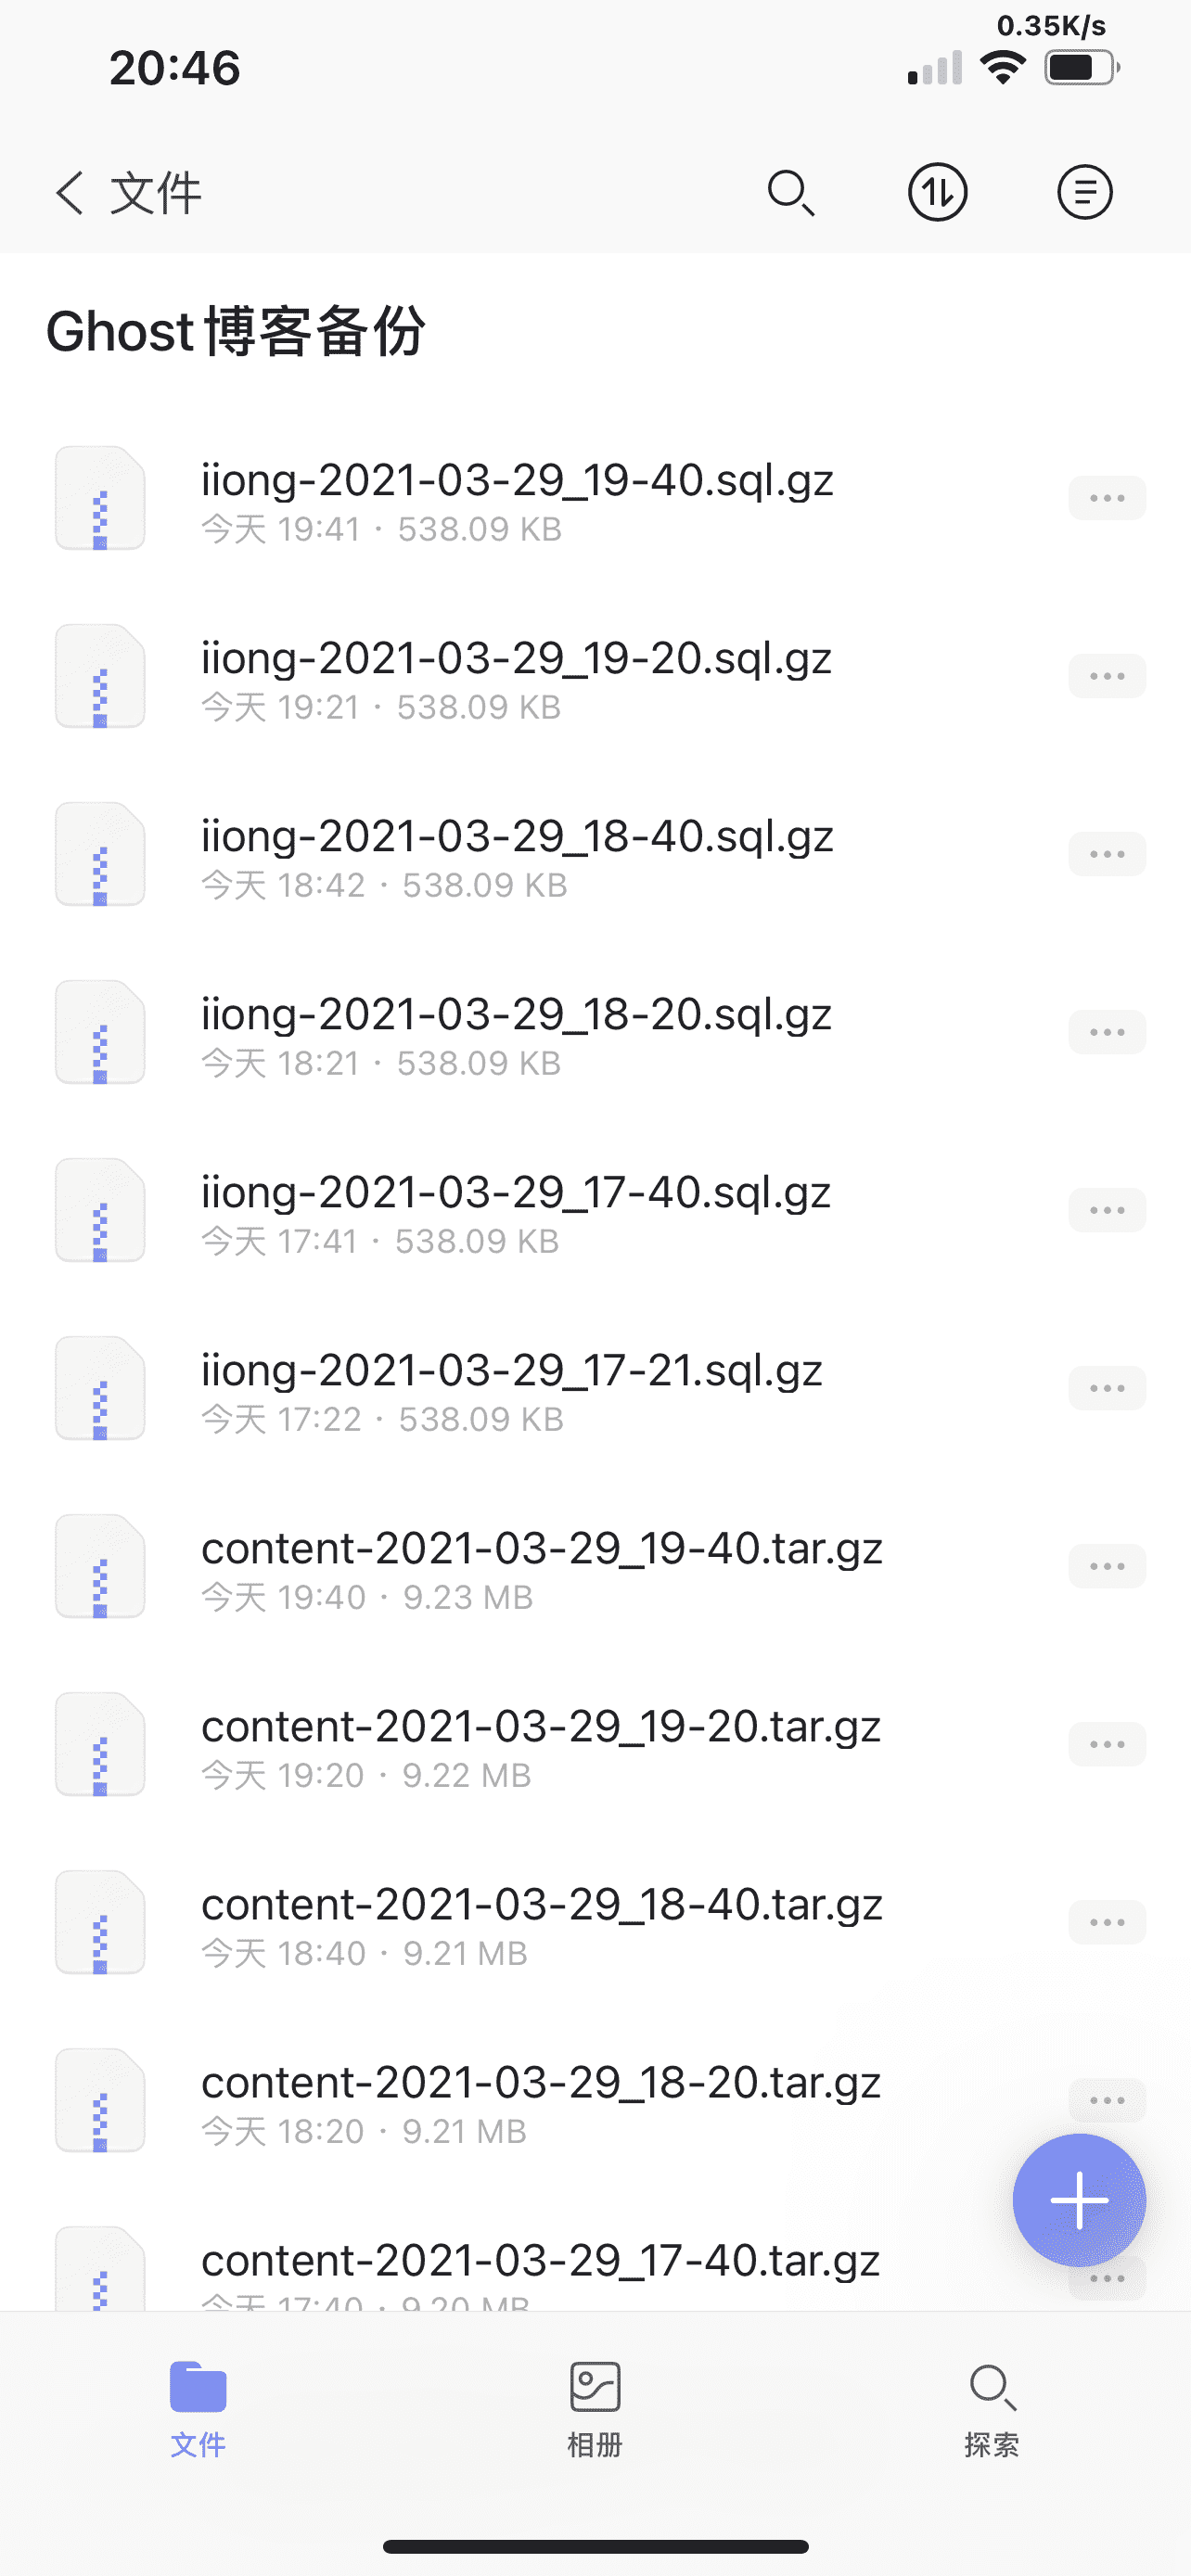
效果如下:
0x5 通知
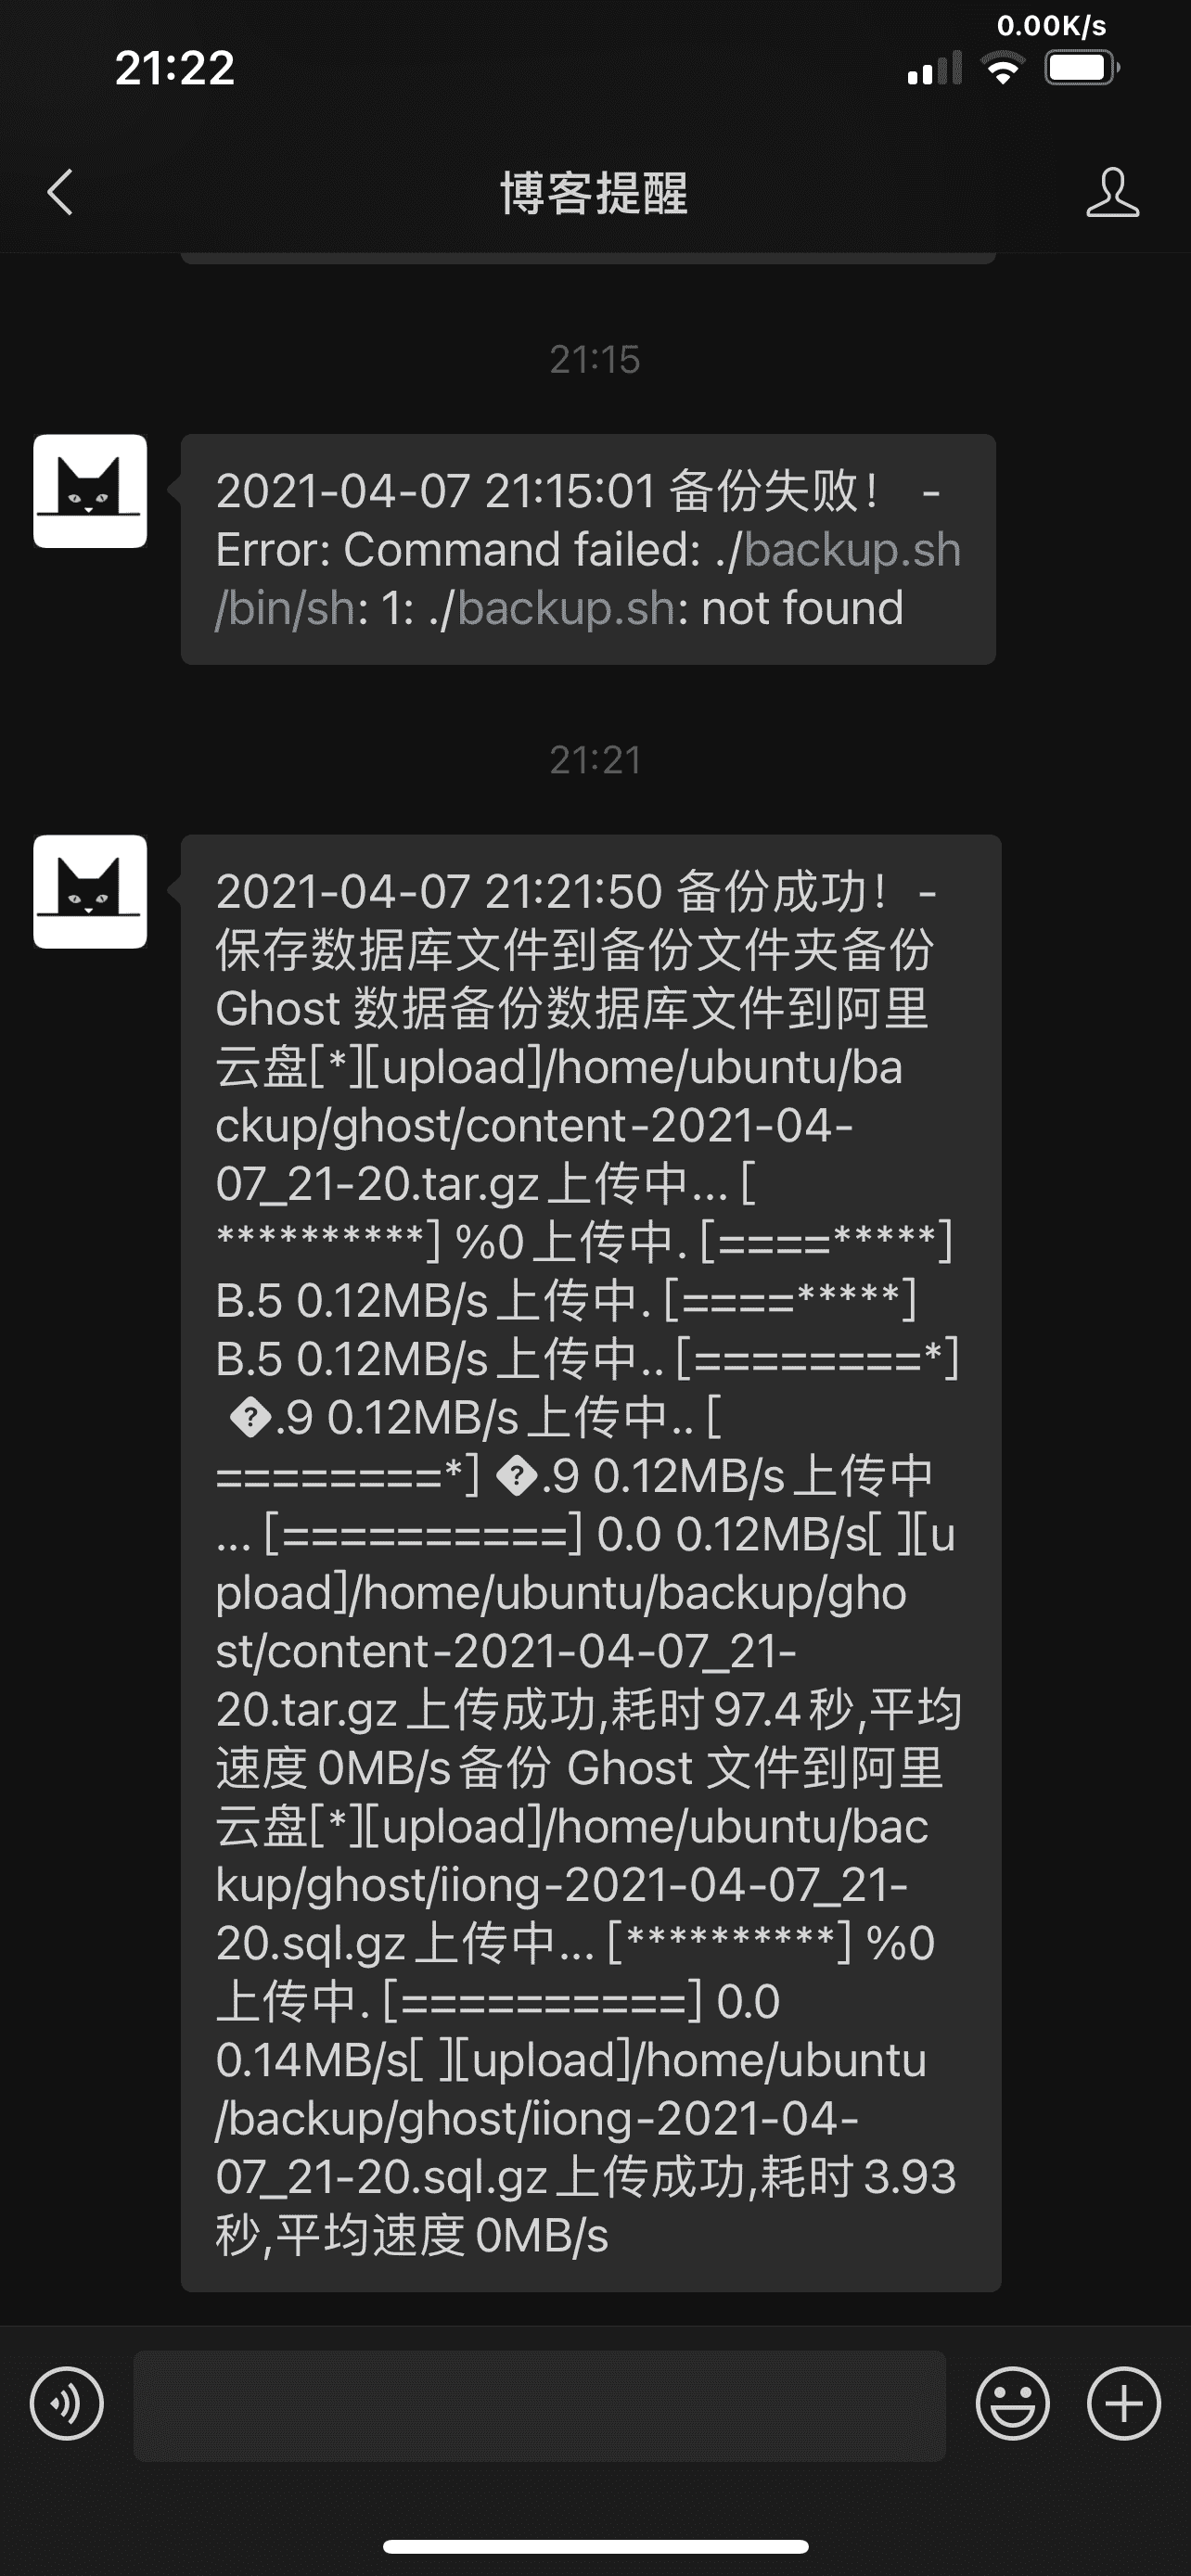
大概使用几天后发现莫名其妙不备份了,查看一看是阿里云盘的 token 失效了,所以花了时间写了个通知脚本,利用脚本执行 shell 在成功或者失败回调进行通知,通知方式我是使用 Bark,胜在稳定吧,如果需要可以在 backup.sh 同级目录下新建 index.js 脚本:
const { exec } = require('child_process')

const got = require('got')

// Server sendkey 更换你的 Token
const sendkey = 'PDU7221T3T2Axxxx'

let title = ''
let message = ''

exec('bash /home/ubuntu/backup/backup.sh', (error, stdout, stderr) => {
  if (error) {
    title = error.toString()
  } else {
    title = `${parseTime(new Date())} 备份成功!`
    message = ``
  }

  // Server
  const url = `https://api.day.app/${sendkey}/${title}?isArchive=1&group=Ghost备份`
  got.post(url).then(response => {
    console.log('Bark 通知', response)
  }).catch(err => {
    console.log('Bark 错误通知', err)
  })
});

/**
 * 时间格式化
 * @param {*} time
 * @param {*} cFormat
 * @returns
 */
function parseTime(time, cFormat) {
  if (arguments.length === 0) {
    return null
  }
  const format = cFormat || '{y}-{m}-{d} {h}:{i}:{s}'
  let date
  if (typeof time === 'object') {
    date = time
  } else {
    if ((typeof time === 'string') && (/^[0-9]+$/.test(time))) {
      time = parseInt(time)
    }
    if ((typeof time === 'number') && (time.toString().length === 10)) {
      time = time * 1000
    }
    date = new Date(time)
  }
  const formatObj = {
    y: date.getFullYear(),
    m: date.getMonth() + 1,
    d: date.getDate(),
    h: date.getHours(),
    i: date.getMinutes(),
    s: date.getSeconds(),
    a: date.getDay()
  }
  const time_str = format.replace(/{(y|m|d|h|i|s|a)+}/g, (result, key) => {
    let value = formatObj[key]
    // Note: getDay() returns 0 on Sunday
    if (key === 'a') { return ['日', '一', '二', '三', '四', '五', '六'][value ] }
    if (result.length > 0 && value < 10) {
      value = '0' + value
    }
    return value || 0
  })
  return time_str
}
上面涉及到的 api 参考文档:
PushDeer:https://www.pushdeer.com/official.html
然后删除之前的任务并且添加下面定时任务:
# 在任务表添加下列任务
0 0 * * * /usr/bin/node /home/ubuntu/backup/index.js # 每天 0 点执行

*/5 * * * * /usr/bin/node /home/ubuntu/backup/index.js # 每5分钟执行一次 可以拿这个测试
代码记录:Ghost-Theme/BackupTools at master · JaxsonWang/Ghost-Theme · GitHub
0x6 Docker Ghost 备份
如果是 Docker Ghost 镜像备份就需要稍微一些改变,如果你的 Ghost Docker Compose 如下:
services:

  ghost:
    image: ghost:latest
    container_name: ghost
    restart: unless-stopped
    ports:
      - 2368:2368
    environment:
      url: https://iiong.com
      # see https://ghost.org/docs/config/#configuration-options
      database__client: mysql
      database__connection__host: ghost-db
      database__connection__user: root
      database__connection__password: "Your Password"
      database__connection__database: ghost
      # contrary to the default mentioned in the linked documentation, this image defaults to NODE_ENV=production (so development mode needs to be explicitly specified if desired)
      # NODE_ENV: development
    volumes:
      - ./ghost/content:/var/lib/ghost/content
      - ./config.production.json:/var/lib/ghost/config.production.json

  ghost-db:
    image: mysql:8.0
    container_name: ghost-db
    restart: unless-stopped
    environment:
      MYSQL_ROOT_PASSWORD: "Your Password"
    volumes:
      - ./mysql:/var/lib/mysql
      - ./my.cnf:/etc/mysql/conf.d/my.cnf
注意上面配置 my.cnf 文件和之前一样的,只要映射进来就行,然后 bash 脚本修复如下:
#!/bin/bash
. ~/.bashrc

alipanBackupPath="/Ghost/"

now=$(date +'%Y-%m-%d_%H-%M')
database="$HOME/backup/ghost/iiong-$now.sql.gz"
ghostdata="$HOME/backup/ghost/content-$now.tar.gz"

echo "保存数据库文件到备份文件夹"
docker exec -i ghost-db mysqldump --defaults-extra-file=/etc/mysql/conf.d/my.cnf --no-tablespaces ghost | gzip > $database

echo "备份 Ghost 数据"
tar -zcvf $ghostdata --absolute-names $HOME/docker-ghost/ghost/ > /dev/null

echo "备份Ghost和数据库文件到阿里云盘"
aliyunpan upload $ghostdata $database $alipanBackupPath

echo "删除文件"
rm $database
rm $ghostdata

